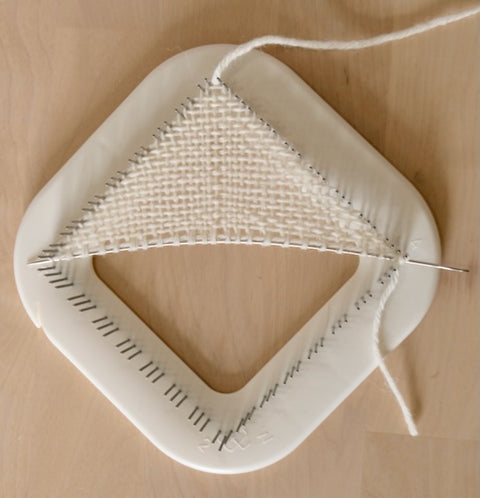
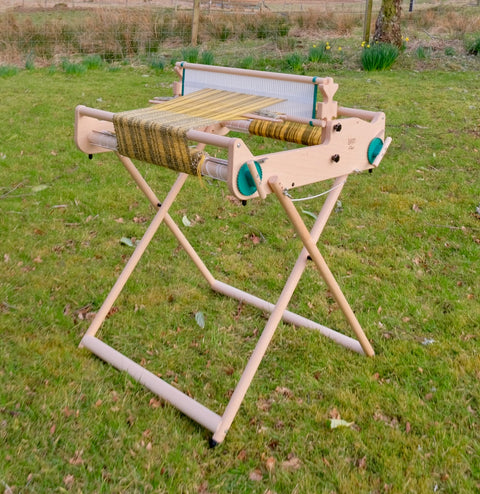
Schacht Zoom Looms are great for weaving squares. However, sometimes a square is not enough and you need a triangle as well for your project such as for the Weft Blown Wee Croft Hoose.
In this blog post I will talk you through how I weave triangles on my Schacht Zoom Loom and I hope it helps you.
What you need:
Schacht Zoom Loom
Yarn
6" Needle that came with the Zoom Loom or something a similar size or length
2.75mm Locker Hook or Crochet Hook of a similar size
Sewing Needle for weaving in the ends.
Step 1 - Setting up the Loom
Set up your Zoom Loom by having the corner with the number 3 at the top.
Place the 6" needle along the middle between the corner pins at either side.
Using a slip knot tie your yarn to the pin at the right hand side.

Step 2 - Preparing the first 2 rows
Take the yarn to the pin at the opposite corner, wrap it around this pin and then around the next pin up from it.

Then take the yarn to the pin at the opposite side that's above the pin you tied the yarn onto.

Step 3 - Weaving the 3 row
Using a locker hook or crochet hook go over the top yarn and then under the bottom yarn.

Pull a loop of the yarn through.

Place the loop over the next pin up on either side of the loom.

Check it's gone over the correct pins by looking at the side of the loom and you should see the yarn wrapped around each pin.

You should also see the yarn is now going over and under the previous rows.

Step 4 - Weaving the 4th row
For the next row you again go over the top row, under the next row and over the final row next to the needle.

Pull the loop through again and place it over the next pin up at either side of the loom.

Step 5 - Continue Weaving
The rest of the rows work the same as steps 3 and 4 as you will always be going over the top of the top row and then going under and over repeatedly until you get to the bottom row and the needle.
The rows will alternate with you going under then over the final row and the needle.

Do keep checking the side of the loom to make sure you are going around the pins correctly too.

Keep weaving until you've gone around the all the pins to the top corner and then cut your yarn leaving a long tail.

Step 6 - Final Row
Thread the long tail onto either a locker hook or a sewing needle.
Starting from the bottom at the needle go over the needle and the bottom row then under and over the following rows to the top.

Pull the hook or needle through.

Then weave in the long tail end and the end from the start.
Your triangle is now complete and you can remove it from your loom.

As you may have noticed the needle I used did bend while doing these photos. The trick to stop the needle from bending is to try and use less tension as you go which takes practice.
You can sew triangles together to make various shapes and colour effects as well as sewing them onto squares.
You can also make squares this way by not using your Zoom loom needle in the middle and pulling the loops through to the pins on either side. This will then make the square grow out to the opposite corner. This can be useful as it is weaving on the bias and gives the square a bit more stretch.
I hope you find this blog post useful and if you have any questions then do email me info@weftblown.com


